Cloud Watchlists
Overview:
This article explains how to setup Cloud Watchlists.
Background:
It is now possible to synchronize the watchlists on your mobile devices with the watchlists of Trader Workstation on your computer. You will no longer need to worry about adding same tickers over and over again. The Cloud Watchlists feature is available in Trader Workstation build 936 and higher. Once the Cloud Watchlists have been enabled, they can be then imported in mobileTWS using the "Import" option from the Configuration menu.
Enable the Cloud Watchlists in Trader Workstation
- Login into the Trader Workstation
- Click on Edit in top menu, then on Global Configuration (or File -> Global Configuration if TWS is in the Mosaic layout)
- In the left column of the configuration window, click on Lock and Exit
- In the right pane, mark the checkbox "Save watchlists to cloud" (as shown in the screenshot below)
.jpg)
- Click Apply, then OK to close the configuration window
Enable Cloud Watchlists on a mobile device
iPhone
- After the Cloud Watchlists feature has been enabled in TWS, login into mobileTWS
- Upon login, you will be prompted with a screen asking you to try the new feature
- Select "Try It", and then select the device/computer to import the watchlist from
- If you are not shown the "Try It" prompt, please go to the Configuration menu and select Watchlist Import and select the device/computer to import from
- In the Configuration meny, enable the option "Save Cloud Watchlists"
iPad
- After the Cloud Watchlists feature has been enabled in TWS, login into mobileTWS
- Upon login, you will be prompted with a screen asking you to try the new feature
- Select "Try It", and then select the device/computer to import the watchlist from
- If you are not shown the "Try It" prompt, tap on "Setup" in top left corner and enable "Save cloud watchlists"
- Back in the main screen, in top left section, tap on the Import button and select the device/computer from which to import the Cloud Watchlist
Android mobile or tablet
- After the Cloud Watchlists feature has been enabled in TWS, login into mobileTWS
- Upon login, you will be shown the Watchlist Import wizard
- Select the device/computer from which to import the watchlist
- To see the imported watchlists, navigate to Quotes and Charts from the main menu and select an imported watchlist from the dropdown
Please note that it is not possible to sync watchlists from mobileTWS to your desktop TWS.
IRA: Retirement Account Resource Center
IMPORTANT NOTE: This article has been customized for use by self-directed Individual Retirement Account (IRA) owners for information purposes only. Persons are encouraged to consult a qualified tax professional with the investments and elections within the IRA. IB does not provide tax advice. For detailed information regarding IRAs, you may consult the IRS Publication 590-A about IRA contributions and the IRS Publication 590-B about IRA distributions.
This resource center provides a central reference point for information concerning the various IRA account types offered by IB.
Important Notice - Select IRA Tax Reporting for key information with transaction and tax reporting in your IRA.
Account Management IRA Reference
Beneficiary Options
Recharacterizations from a Roth IRA
Required Minimum Distributions
IRS Circular 230 Notice: These statements are provided for information purposes only, are not intended to constitute tax advice which may be relied upon to avoid penalties under any federal, state, local or other tax statutes or regulations, and do not resolve any tax issues in your favor.
How to send documents to IBKR using your smartphone
Overview:
Interactive Brokers allows you to send us a copy of a document even if you do not currently have access to a scanner. You can take a picture of the requested document with your smartphone.
Below you will find the instructions on how to take a picture and send it per email to Interactive Brokers with the following smartphone operating systems:
If you already know how to take and send pictures per email using your smartphone, please click HERE - Where to send the email to and what to include in the subject.
iOS
1. Swipe up from the bottom of your smartphone screen and tap the camera icon.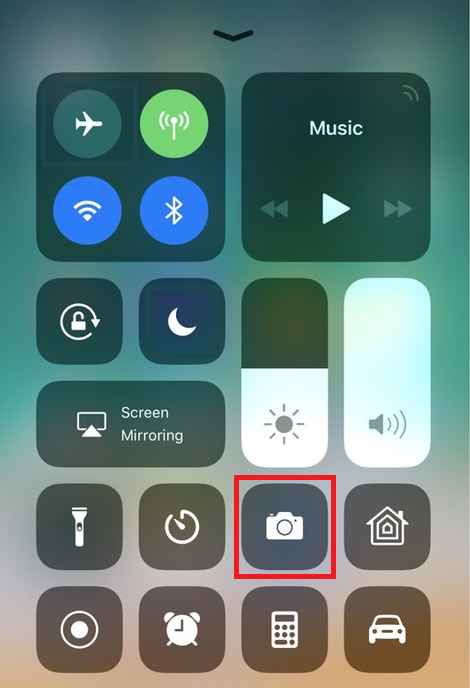
If you do not have the Camera icon, you can tap the Camera app icon from the home screen of your iPhone.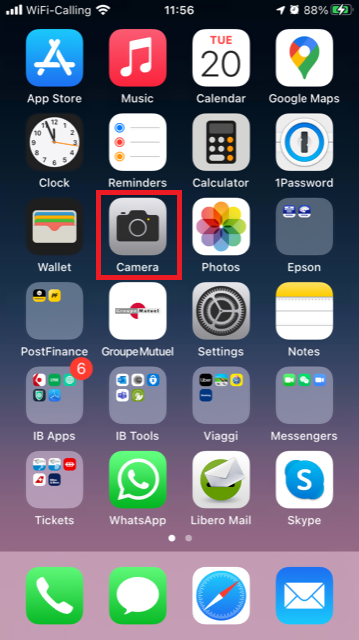
Normally your phone should now activate the rear camera. If it activates the front one, tap the camera switch button.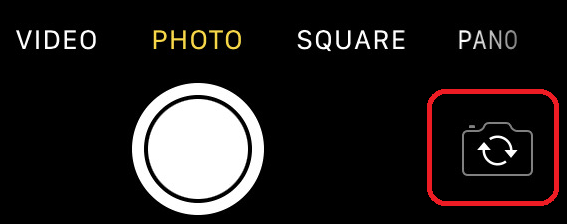
2. Place your iPhone above the document and frame the desired portion or page of the document.
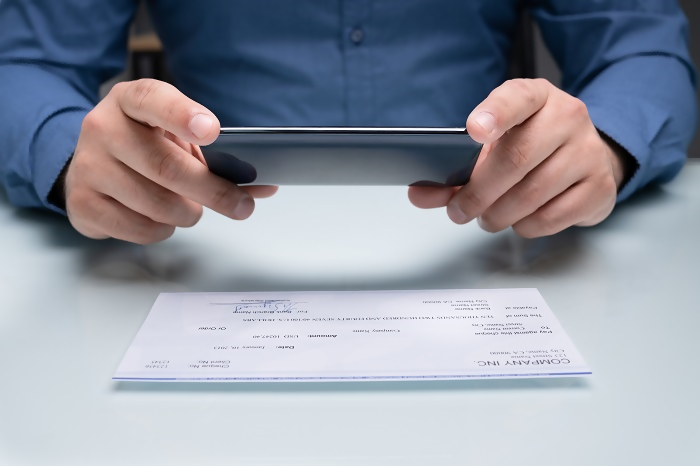
3. Make sure to have uniform, sufficient lighting and not to cast any shadow on the document due to your position. Hold the smartphone firmly with your hand/s and avoid shaking. Tap on the shutter button to take the photo.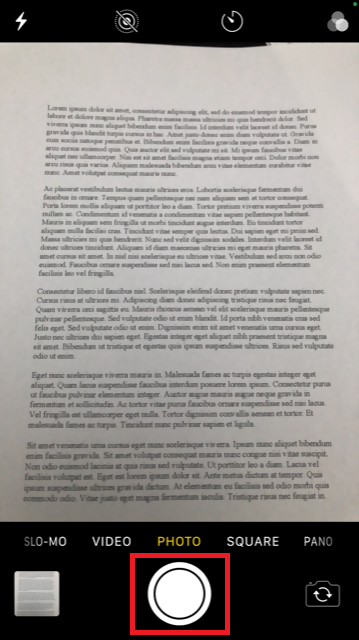
4. Tap the thumbnail image in the lower left-hand corner to access the picture you have just taken.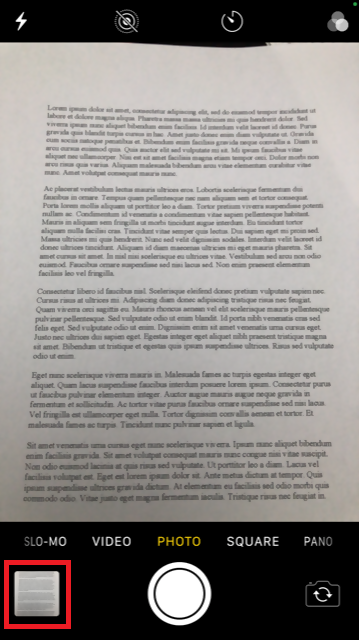
5. Make sure that the picture is clear and the document is well legible. You can enlarge the picture and see it in detail by swiping apart two fingers on the picture itself.

If the picture does not present a good quality or lighting, please repeat the previous steps in order to take a sharper one.
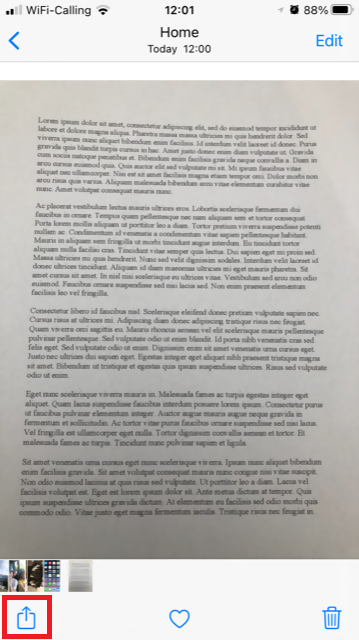
6. Tap the share icon in the lower left-hand corner of the screen.
7. Tap the Mail icon.
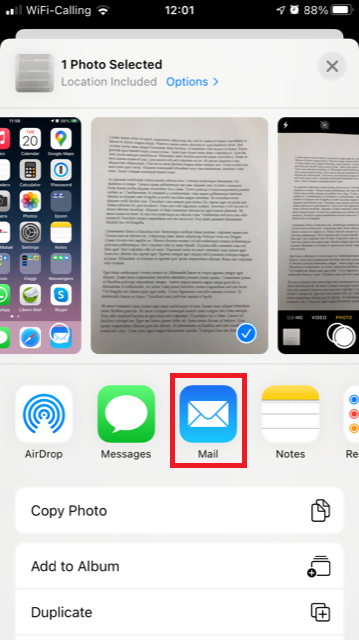
Note: to send emails your phone has to be configured for that. Please contact your email provider if you are not familiar with this procedure.
8. Please see HERE how to populate the To: and Subject: fields of your email. Once the email is ready, tap the up arrow icon on the top right to send it.

Android
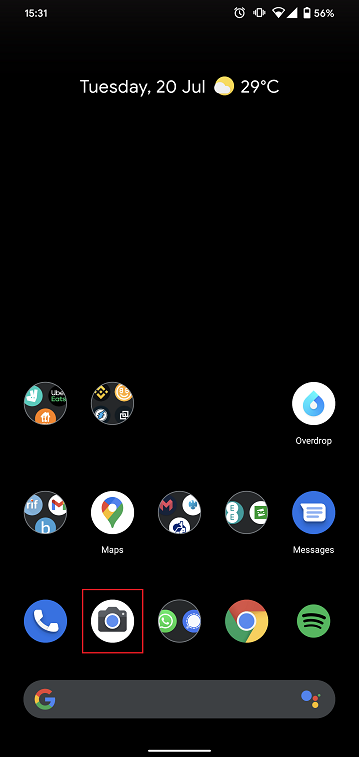
1. Open your applications list and start the Camera app. Alternatively start it from your Home screen. Depending on your phone model, maker or setup, the app might be called differently.
Normally your phone should now activate the rear camera. If it activates the front one, tap the camera switch button.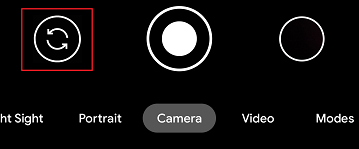
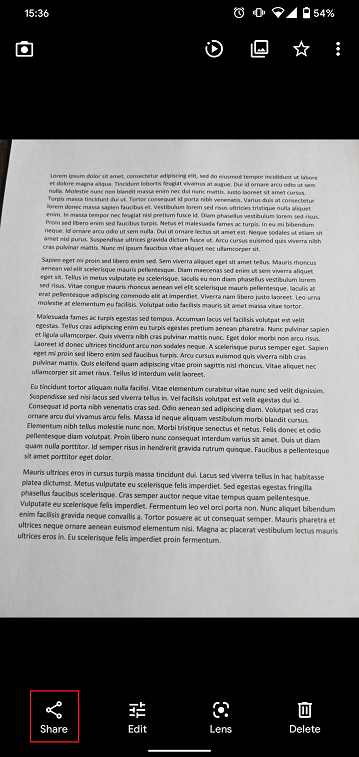
2. Place your Android above the document and frame the desired portion or page of the document.
3. Make sure to have uniform, sufficient lighting and not to cast any shadow on the document due to your position. Hold the smartphone firmly with your hand/s and avoid shaking. Tap on the shutter button to take the photo.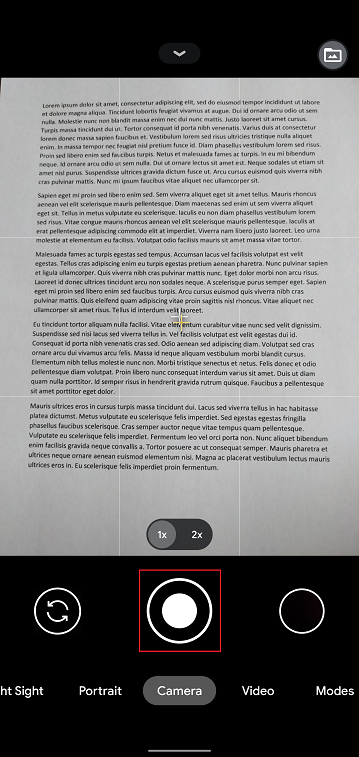
4. Make sure that the picture is clear and the document is well legible. You can enlarge the picture and see it in detail by swiping apart two fingers on the picture itself.
If the picture does not present a good quality or lighting, please repeat the previous steps in order to take a sharper one.
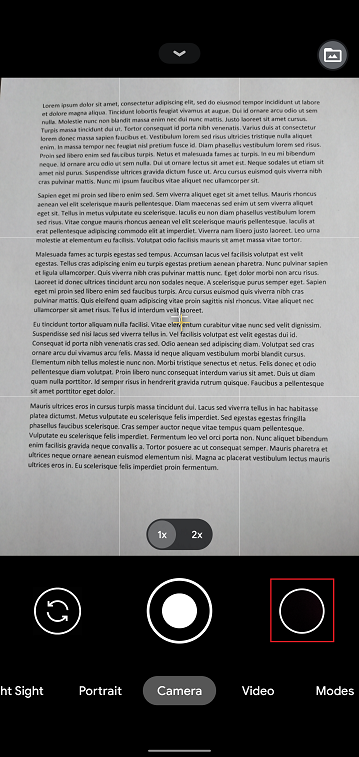
5. Tap the empty circle icon in the lower right-hand corner of the screen.
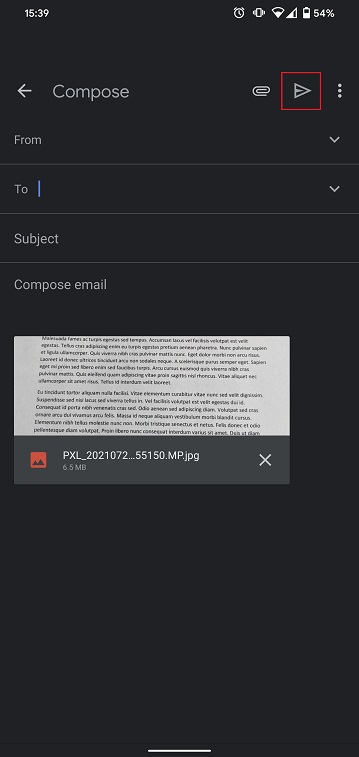
6. Tap the share icon in the lower left-hand corner of the screen.
7. In the sharing menu that will be displayed now tap the icon of the email client set up on your phone. In the example picture below, it is called Gmail but the name may vary according to your specific setup.
.png)
Note: to send emails your phone has to be configured for that. Please contact your email provider if you are not familiar with this procedure.
8. Please see HERE how to populate the To and Subject fields of your email. Once the email is ready, tap the airplane icon on the top right to send it.
WHERE TO SEND THE EMAIL AND WHAT TO INCLUDE IN THE SUBJECT
The email has to be created observing the below instructions:
1. In the field To: type:
- newaccounts@interactivebrokers.com if you are a resident of a non-European country
- newaccounts.uk@interactivebrokers.co.uk if you are a European resident
2. The Subject: field must contain all of the below:
- Your account number (it usually has the format Uxxxxxxx, where x are numbers) or your username
- The purpose of sending the document. Please use the below convention:
- PoRes for a proof of residential address
- PID for a proof of identity
How to request a Digital Security Card+ (DSC+) replacement
Overview:
The below steps are required in order to:
- Replace a Digital Security Card+ which has been lost, stolen or has become inoperable
- Request a Digital Security Card+ alongside your current security device (if you are a new or existing Client with equity above $1,000,000, or equivalent)
Background:
1. Notify IBKR Client Services- Contact IBKR Client Services to obtain a temporary account access. This service can only be provided via telephone and requires the identity of the account holder to be verified, as detailed in the IBKR Knowledge Base.
2. Obtain an Online Security Code Card - Activate an Online Security Code Card, which offers enhanced protection and full Client Portal functionality for an extended period of 21 days. Please consult the IBKR Knowledge Base should you need guidance for this specific step.
3. Request the DSC+ replacement - Once you have completed the Online Security Code Card activation, please remain in the Secure Login System section of the Client Portal and order your replacement DSC.
Request a DSC+
1. Click on the button Request Physical Device.
.png)
2. The shipping address will be shown in the device information screen. If your address is outdated or invalid, you can amend it by clicking on Change Address and following the on-screen instructions. If you do not need to update your address, please proceed to step 3..png)
3. Enter a four-digit Soft PIN1 for your DSC+. Please make sure to remember the PIN you are typing since it will be necessary to activate and to operate your device. When applicable and desired, you may change the account on which the 20 USD deposit will be kept on hold2. Complete this step by clicking on Continue..png)
4. The system will show you a summary of your selection. Please make sure the information displayed is correct. Should you need to perform changes, click on the white Back button under the information field (not your browser back button), otherwise submit the request by clicking on Continue.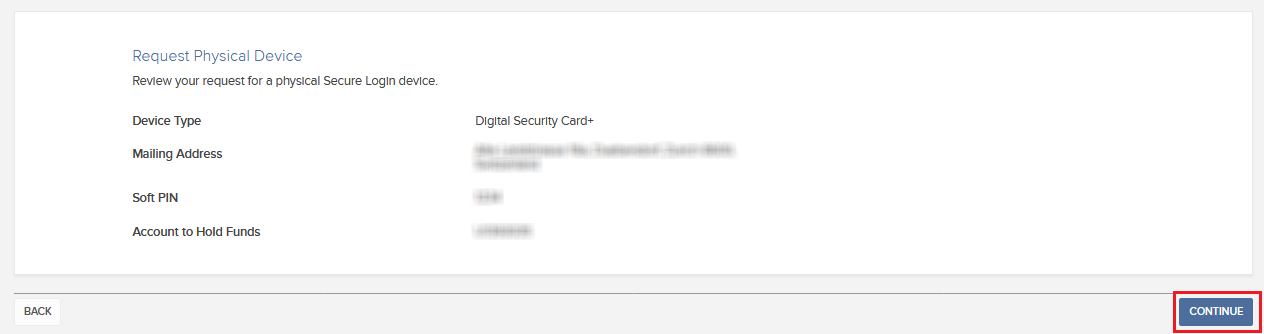
5. You will receive a final confirmation containing the estimated shipment date3. Click on Ok to finalize the procedure.
1. For PIN guidelines, please consult the IBKR Knowledge Base.
2. The Security token and the shipment are both free of charge. Nevertheless, when you order your device, we will freeze a small amount of your funds (20 USD). If your device is lost, intentionally damaged, stolen or if you close your account without returning it to IBKR, we will use that amount as a compensation for the loss of the hardware. In any other case, the hold will be released once your device has been returned to IBKR. More details on the IBKR Knowledge Base.
3. For security reasons, the replacement device is set to auto-activate within three weeks from the shipment date. IBKR will notify you when the auto-activation is approaching and when it is imminent.
IBKR Knowledge Base References
- See KB1131 for an overview of the Secure Login System
- See KB2636 for information and procedures related to Security Devices
- See KB2481 for instructions about sharing the Security Login Device between two or more users
- See KB2545 for instructions on how to opt back in to the Secure Login System
- See KB975 for instructions on how to return your security device to IBKR
- See KB2260 for instructions on activating the IB Key authentication via IBKR Mobile
- See KB2895 for information about Multiple 2Factor System (M2FS)
- See KB1861 for information about charges or expenses associated with the security devices
- See KB69 for information about Temporary passcode validity
How to Request Trading Permissions for IB U.K. CFD's
How to request trading permissions for IB U.K. Contracts for Difference (CFD's)
JASDEC Registration Information
Share trading in the Japanese market is cleared by JASDEC (Japan Securities Depository Center, Inc.). Most dividends and many corporate actions on shares are distributed directly by JASDEC to investor bank accounts and JASDEC registers shareholder information for this purpose. In order to trade shares via Interactive Brokers, we require the authorized JASDEC investor identification code. Please use the instructions below to provide name, address, and bank information in the required character format. This information will be transmitted securely to JASDEC which will validate the information and provide IB with the necessary authorization codes. As soon as we receive the JASDEC authorization (which may take up to a week), we will activate trading permissions on TSE shares and will notify you accordingly.
Instructions to provide information for getting JASDEC investor identification code are as follows:
- Log into Client Portal from the IBSJ website.
- If you do not already have an approved banking instruction, please add one. This information is needed to deposit dividends and other cash distributions directly to your chosen bank/account:
- Select Transfer & Pay followed by Transfer Funds and Make a Withdrawal.
- Select Japanese Yen (JPY) as the currency.
- Select Zengin Wire as the method.
- Keep the Amount blank and enter all required information on the page.
- For the Bank and Branch Code, please enter your 4 digit bank code and 3 digit branch code without a space (Eg. 0001001).
- Click on the Continue button to complete the confirmation step.
- Click the Help menu (question mark icon in the top right corner) followed by Support Center and then select the JASDEC icon.
- Enter your name and address information in the particular character format as specified on the screens.
This information will be transmitted securely to JASDEC. Thereafter the information will be validated and an authorization code will be issued. As soon as we receive the JASDEC authorization (which may take up to a week), we will activate trading permission for Japanese shares and will notify you accordingly.
IB's Risk Navigator Session 3 - What-if Scenario
How to create a What-if Scenario using IB's Risk Navigator
Click here to watch: Risk Navigator Session 1 - Introduction
Click here to watch: Risk Navigator Session 2 - Custom Scenario
For detailed information on how to create What-if scenarios please refer to the TWS Online User's Guide.
IB's Risk Navigator Session 2 - Custom Scenario
How to create a custom scenario using IB's Risk Navigator.
Click here to view: IB's Risk Navigator Session 1 - Introduction
Click here to view: IB's Risk Navigator Session 3 - What-if Scenario
For detailed information please refer to the TWS Online User's Guide.